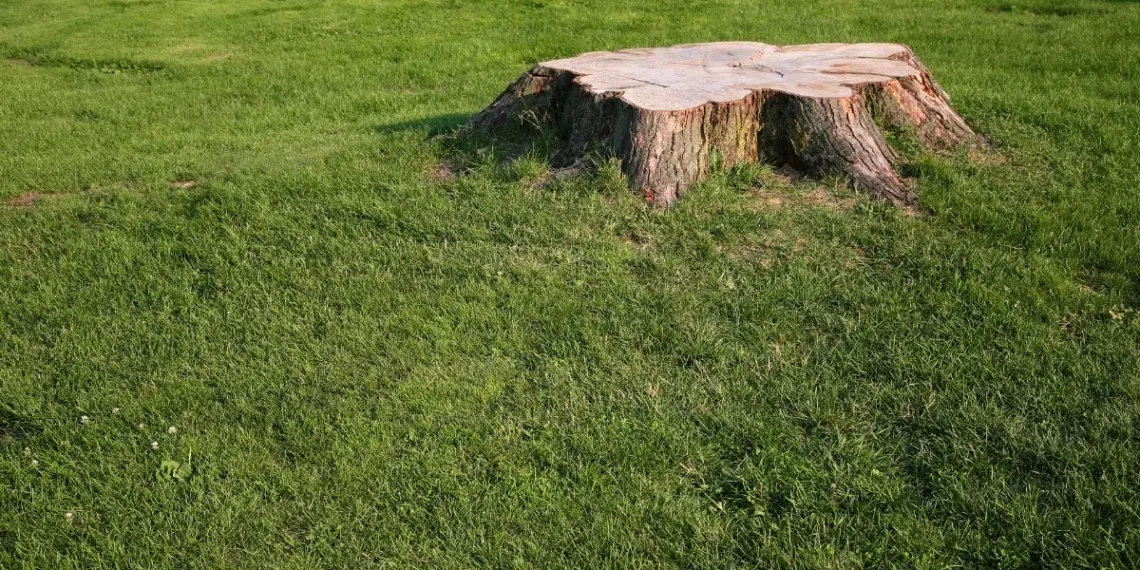
No matter why you had to extract a tree or several of them from your backyard, the odds are, you also needed to extract the stumps as well. Once they’re removed, there will be huge gaps left in the ground, as well as a lot of timber. Because of this, planting grass in that area may be a bit more complex and daunting than you initially thought.
Before you actually replant the grass, you’ll need to do a wide range of things, so that you could ensure that the earth is prepared and that the grass doesn’t yellow and wither. To help you make the entire process less daunting, here are our 2 lists of fours steps and three tips that you should keep in mind when planting grass after removing stumps:
The Four Steps You Must Follow
1. Gather All The Tools, Products, And Equipment Required
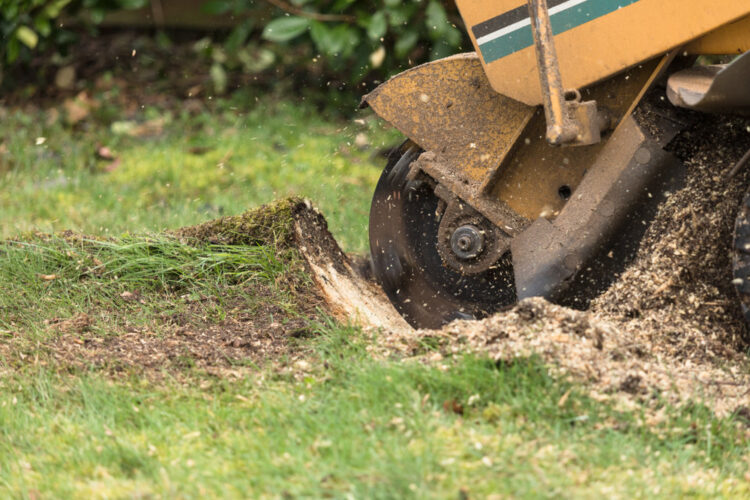
You cannot really reseed the lawn without having and utilizing the right tools, equipment, and products. The things you’ll require are a rake, a shovel, a saw, clippers, topsoil, suitable fertilizers, trash bags/a bucket, gloves, and of course, grass seeds of your choosing. Once you gather all the items we’ve mentioned, you should move on to the next task, which is preparing the area for the reseeding process.
2. The Area Must Be Prepared
Don’t even think about planting the seeds without preparing the soil first. This indicates that you should remove all the debris, including sawdust and timber chips from the site. If you don’t clear the debris left once the grinding process is finished, they’ll absorb all the important and beneficial nutrients and minerals from the site, which will naturally, hinder the grass from developing properly. Start by raking all the debris from the location.
Once you’re done, you should remove all the big and small roots – if any – from the location by utilizing a saw and clippers. You should utilize a bucket or a large trash bag for putting the debris, scraps, and roots so that it’s easier for you to throw away later on. When you’re finished, you’ll want to utilize a shovel to twist the top layer of dirt over, which will freshen it up and give it more oxygen that’ll help your grass grow healthy.
3. Add The Fertilizer You Opted For
You might have a pretty good idea of the fertilizer you would like to use, nonetheless, we must mention that it’s beneficial if you opt for purchasing a mixture of fast- and slow-release products rich in nitrogen. By doing so, you’ll improve the quality of the dirt, but more importantly, you’ll ensure that the nitrogen levels remain high in the future. Add it and a layer of new soil to the site and rake it so that it’s spread out entirely.
4. Add The Seeds!
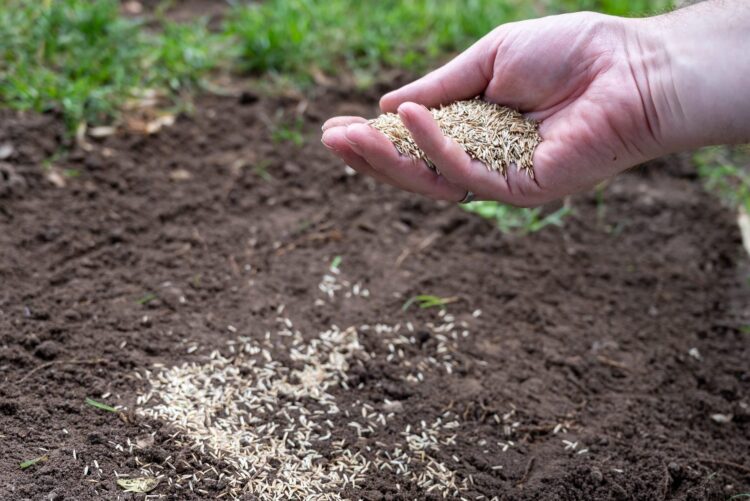
When you’ve completed all the aforementioned steps, it’ll be time for you to add the seeds. Now, this step is relatively simple since all you’ll need to do is to ensure that you cover the entire area properly, which you can do by using the criss-cross technique. However, if you’re uncertain about your skills, you can always hire a professional landscaping company and you can go now to this site to see which services you can opt for.
Top Three Tips to Keep in Mind
Now that you’ve learned which steps you’ll have to take in order to properly prepare the area so that you can reseed your entire lawn, there are some tips that you should learn and keep in mind as well. By following the advice that we’ll mention below, you’ll make sure that your new grass grows properly and is healthy. The tips you should most definitely keep in mind include the list of following things:
1. The New Grass Will Need Attention
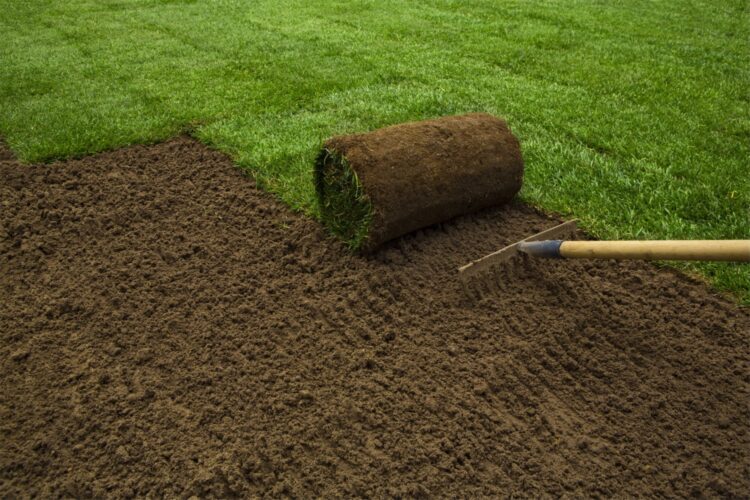
It would be a dream come true if you could simply follow the steps we mentioned above and wait for your grass to grow. Instead, you’ll have to maintain and take care of your lawn right after the seeds are planted. For starters, you’ll want to water the new seeds approximately five to ten minutes after placing them in the ground. Second, you should ensure that the soil doesn’t dry out completely, mostly because it’ll cause the seeds to die, thus, water it as soon as you feel that the ground is getting dry.
2. Remove as Many Wood Chips as You Can
We’ve already stated that you should extract all the timber chips from the site, however, it’s worth mentioning that you should remove as much of it as possible. Of course, there will always be some tiny chips that you simply cannot remove, no matter how much you try, nonetheless, the rest should go. Doing so won’t only allow the grass to receive the required nutrients and minerals from the ground, but it’ll also ensure that it’s easier for you to operate in the area.
3. Don’t Forget to Test The Earth
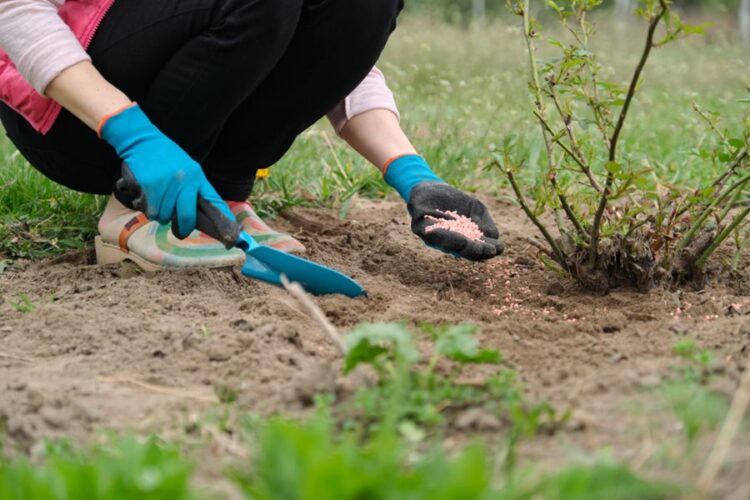
This is something that a lot of homeowners don’t do, however, if you want your reseeding process to be successful, you might want to consider testing the soil in your backyard. Now, most available tests won’t tell you the nitrogen levels, but they’ll allow you to learn more about the composition of the soil, as well as the nutrients in it. By testing the pH levels, you’ll learn whether or not the grass can absorb all the nitrogen it needs, thus, thriving.
Now, you should know, that there is a wide range of companies that specialize in performing these tests, but, if you don’t want to hire a company for this, there are also a lot of home kit tests that you could purchase. Keep in mind, that you may notice some inconsistencies, mostly because there are some factors such as where the sample was drawn from and how much it rained that could influence the results, thus, follow the instructions carefully.
Conclusion
As we mentioned at the beginning of the article, reseeding your yard after a grinding process could be quite daunting and complex. However, if you choose to follow the guide and tips we’ve mentioned in our article, you’ll most certainly make the entire procedure simpler, and more importantly, you’ll ensure that the grass thrives.

